Manually build regions
Create a new domain model or update an existing model in the Build Regions window
Create New Model
-
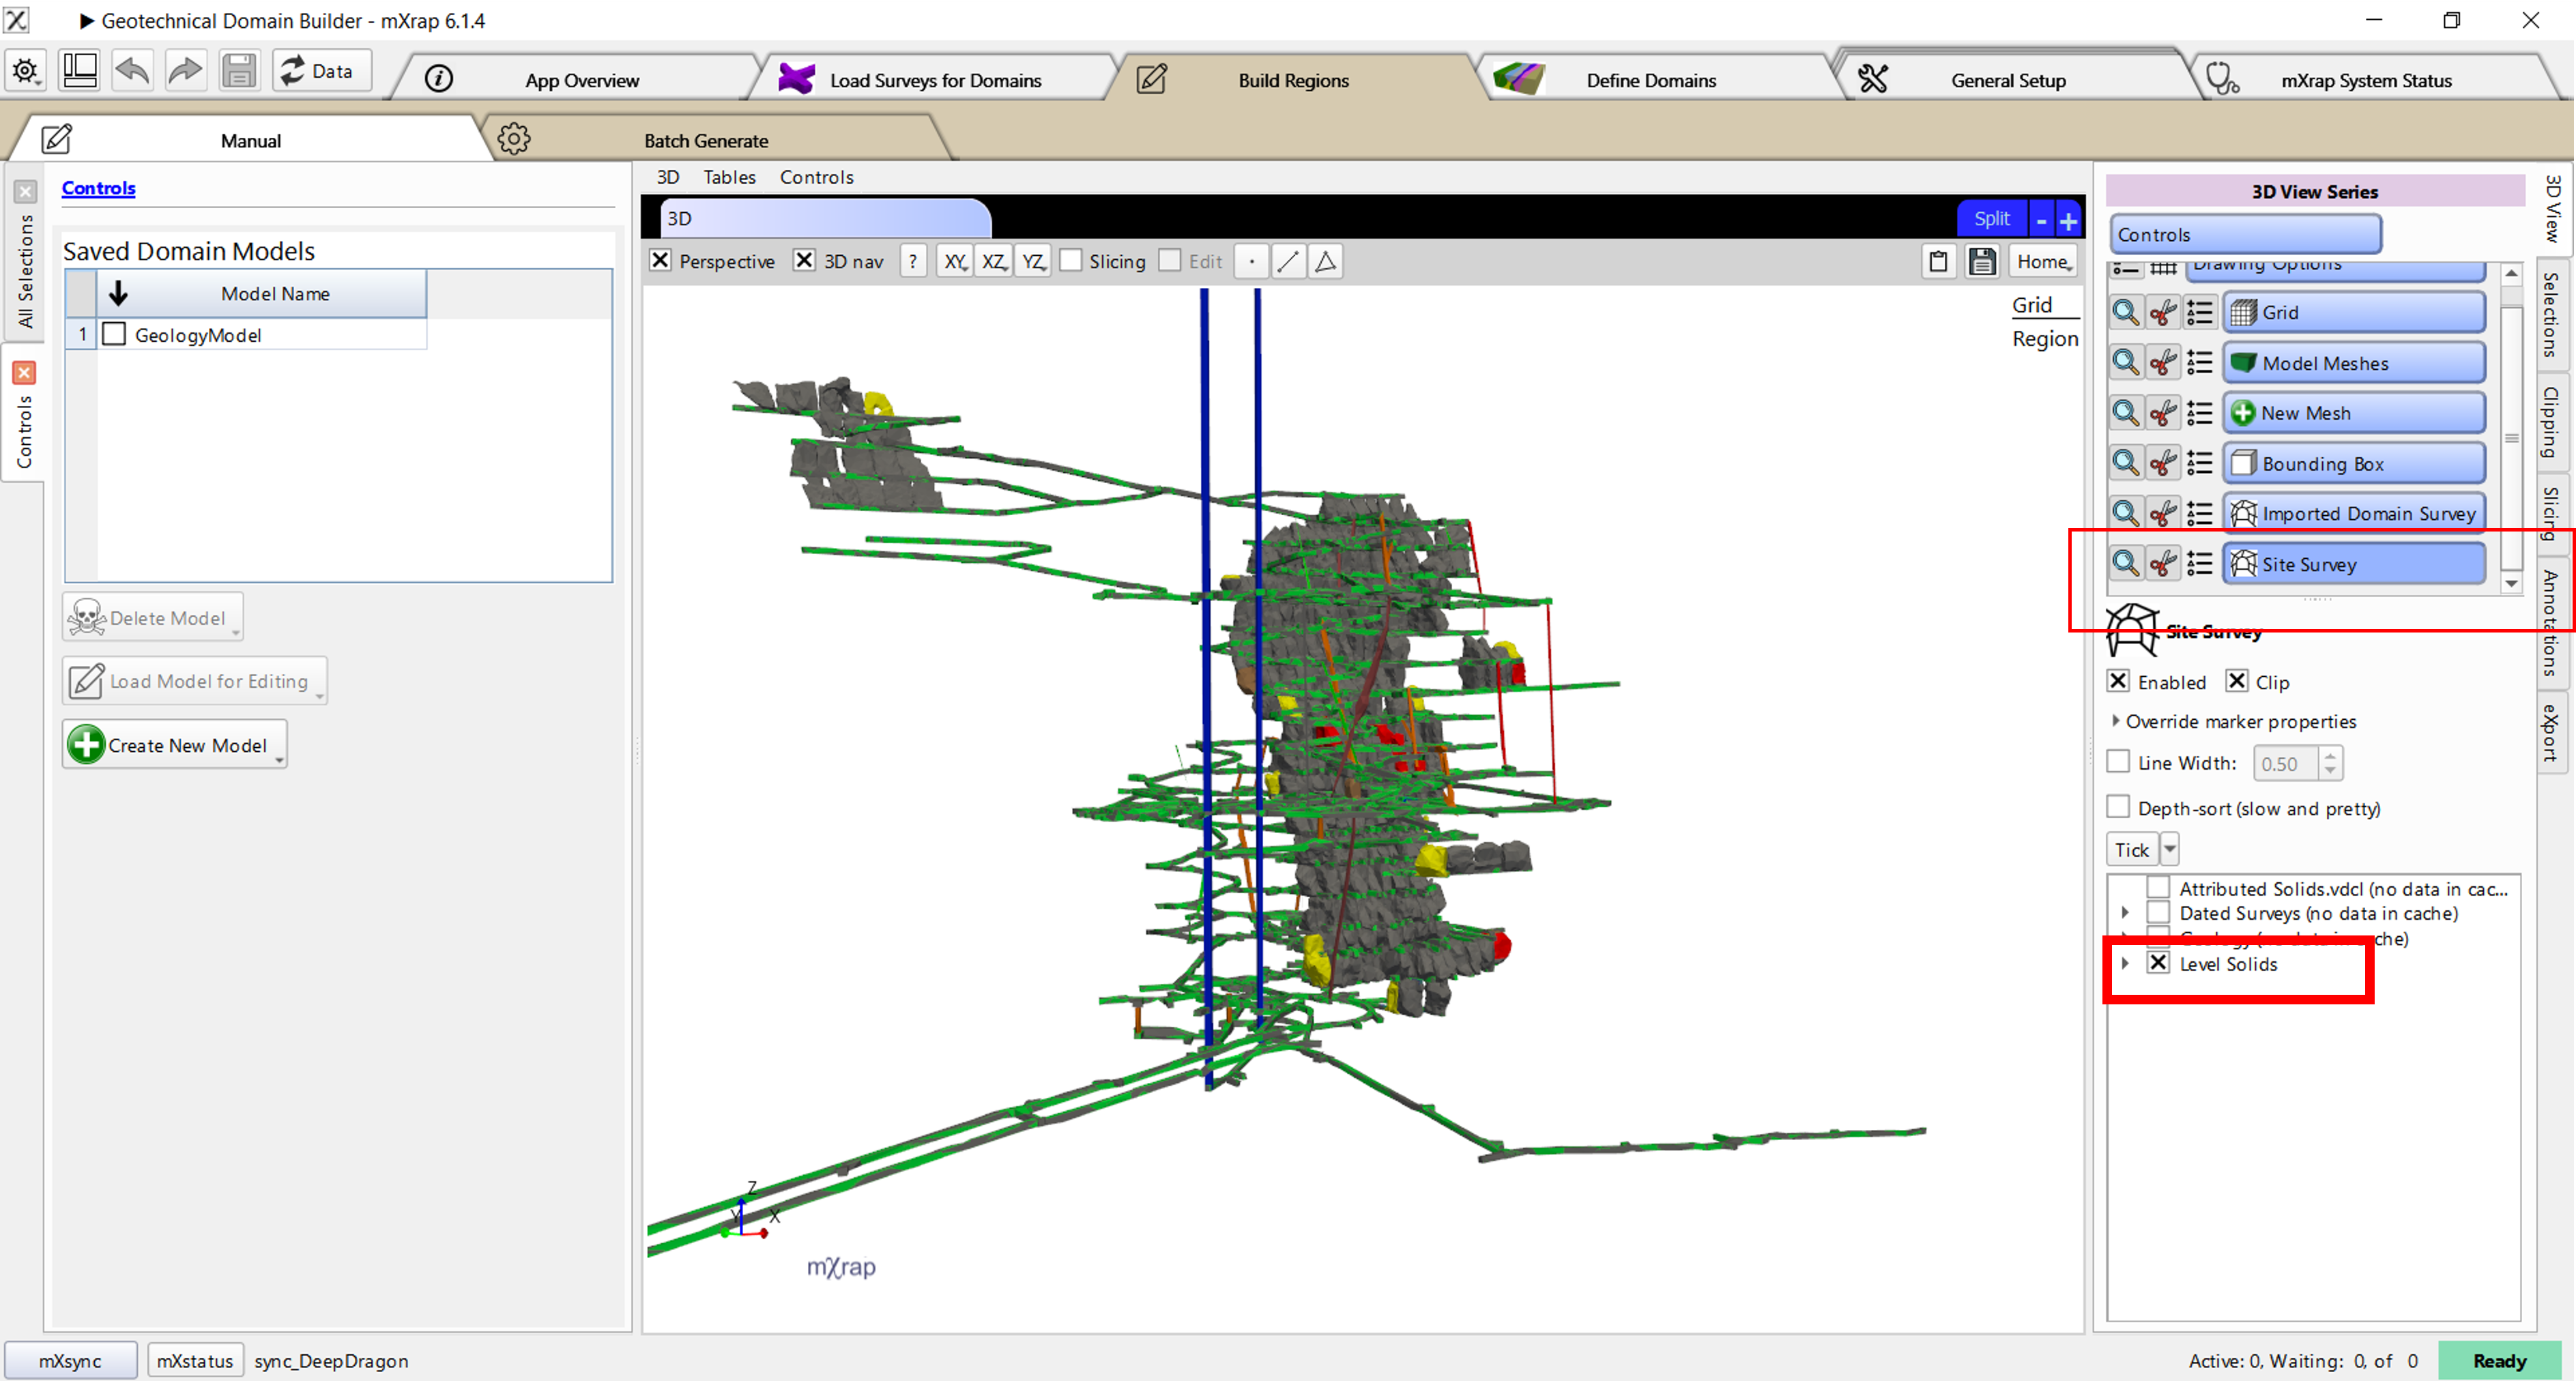
Go to Build Regions, click Create New Model
-
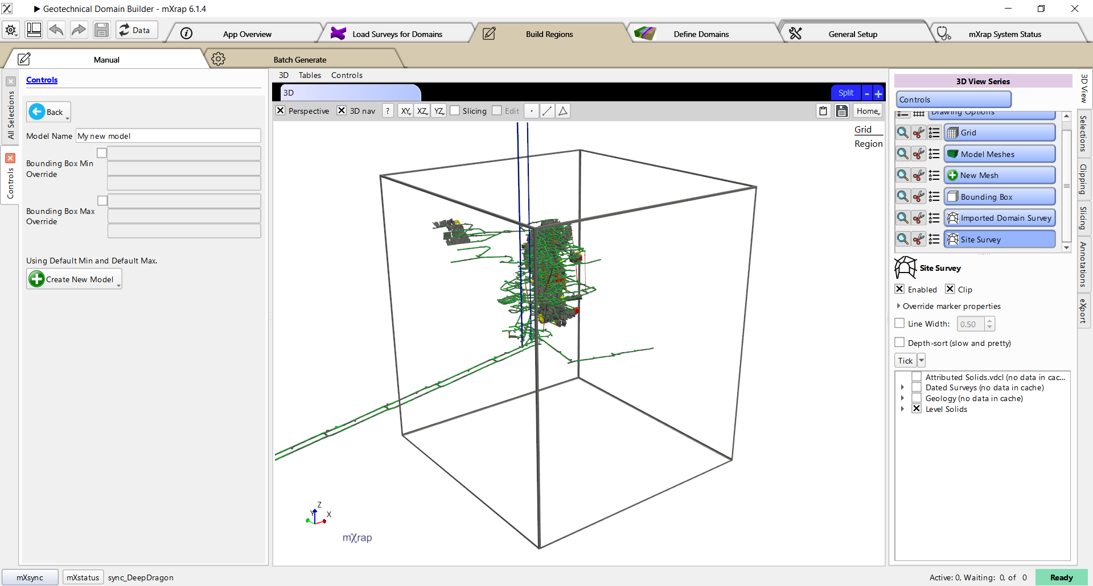
Enter a model name
-
Verify the bounding box
There is a default bounding box based on the quality events bounding box for your mine You can override this to set a different bounding box if you want to
To subdivide the space, repeat the steps in Build Region(s) as many time as necessary.
Build Region(s)
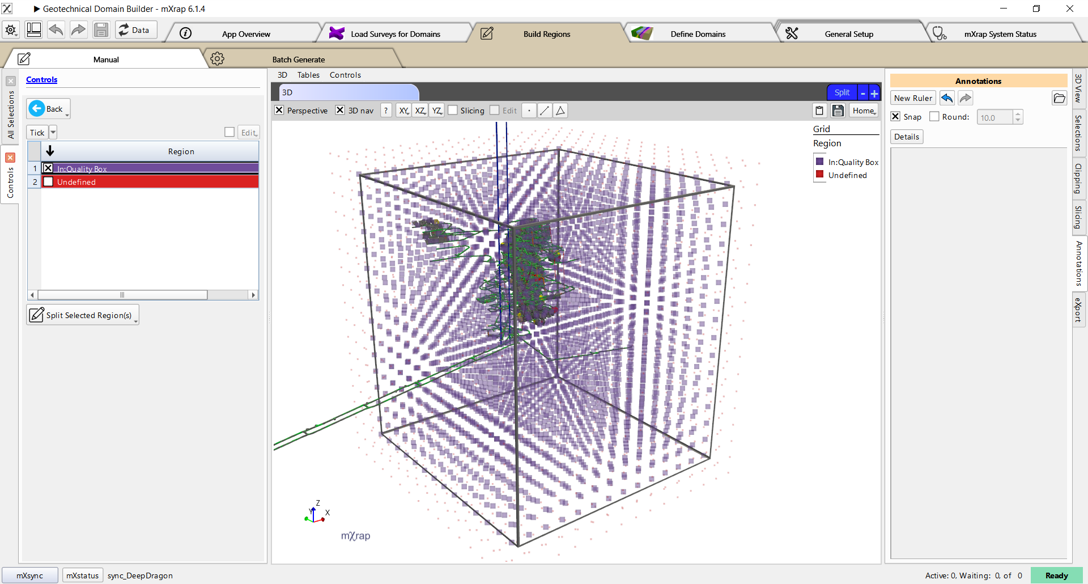
- Tick the region that you want to subdivide and click on Split Selected Region(s)
You'll see the grid update to emphasise the regions that you have ticked
You can subdivide multiple regions with one action, e.g. using a HW/FW filter to cut through two different volumes
Option A: Subdivide using inside/outside volume
- Click the volume button
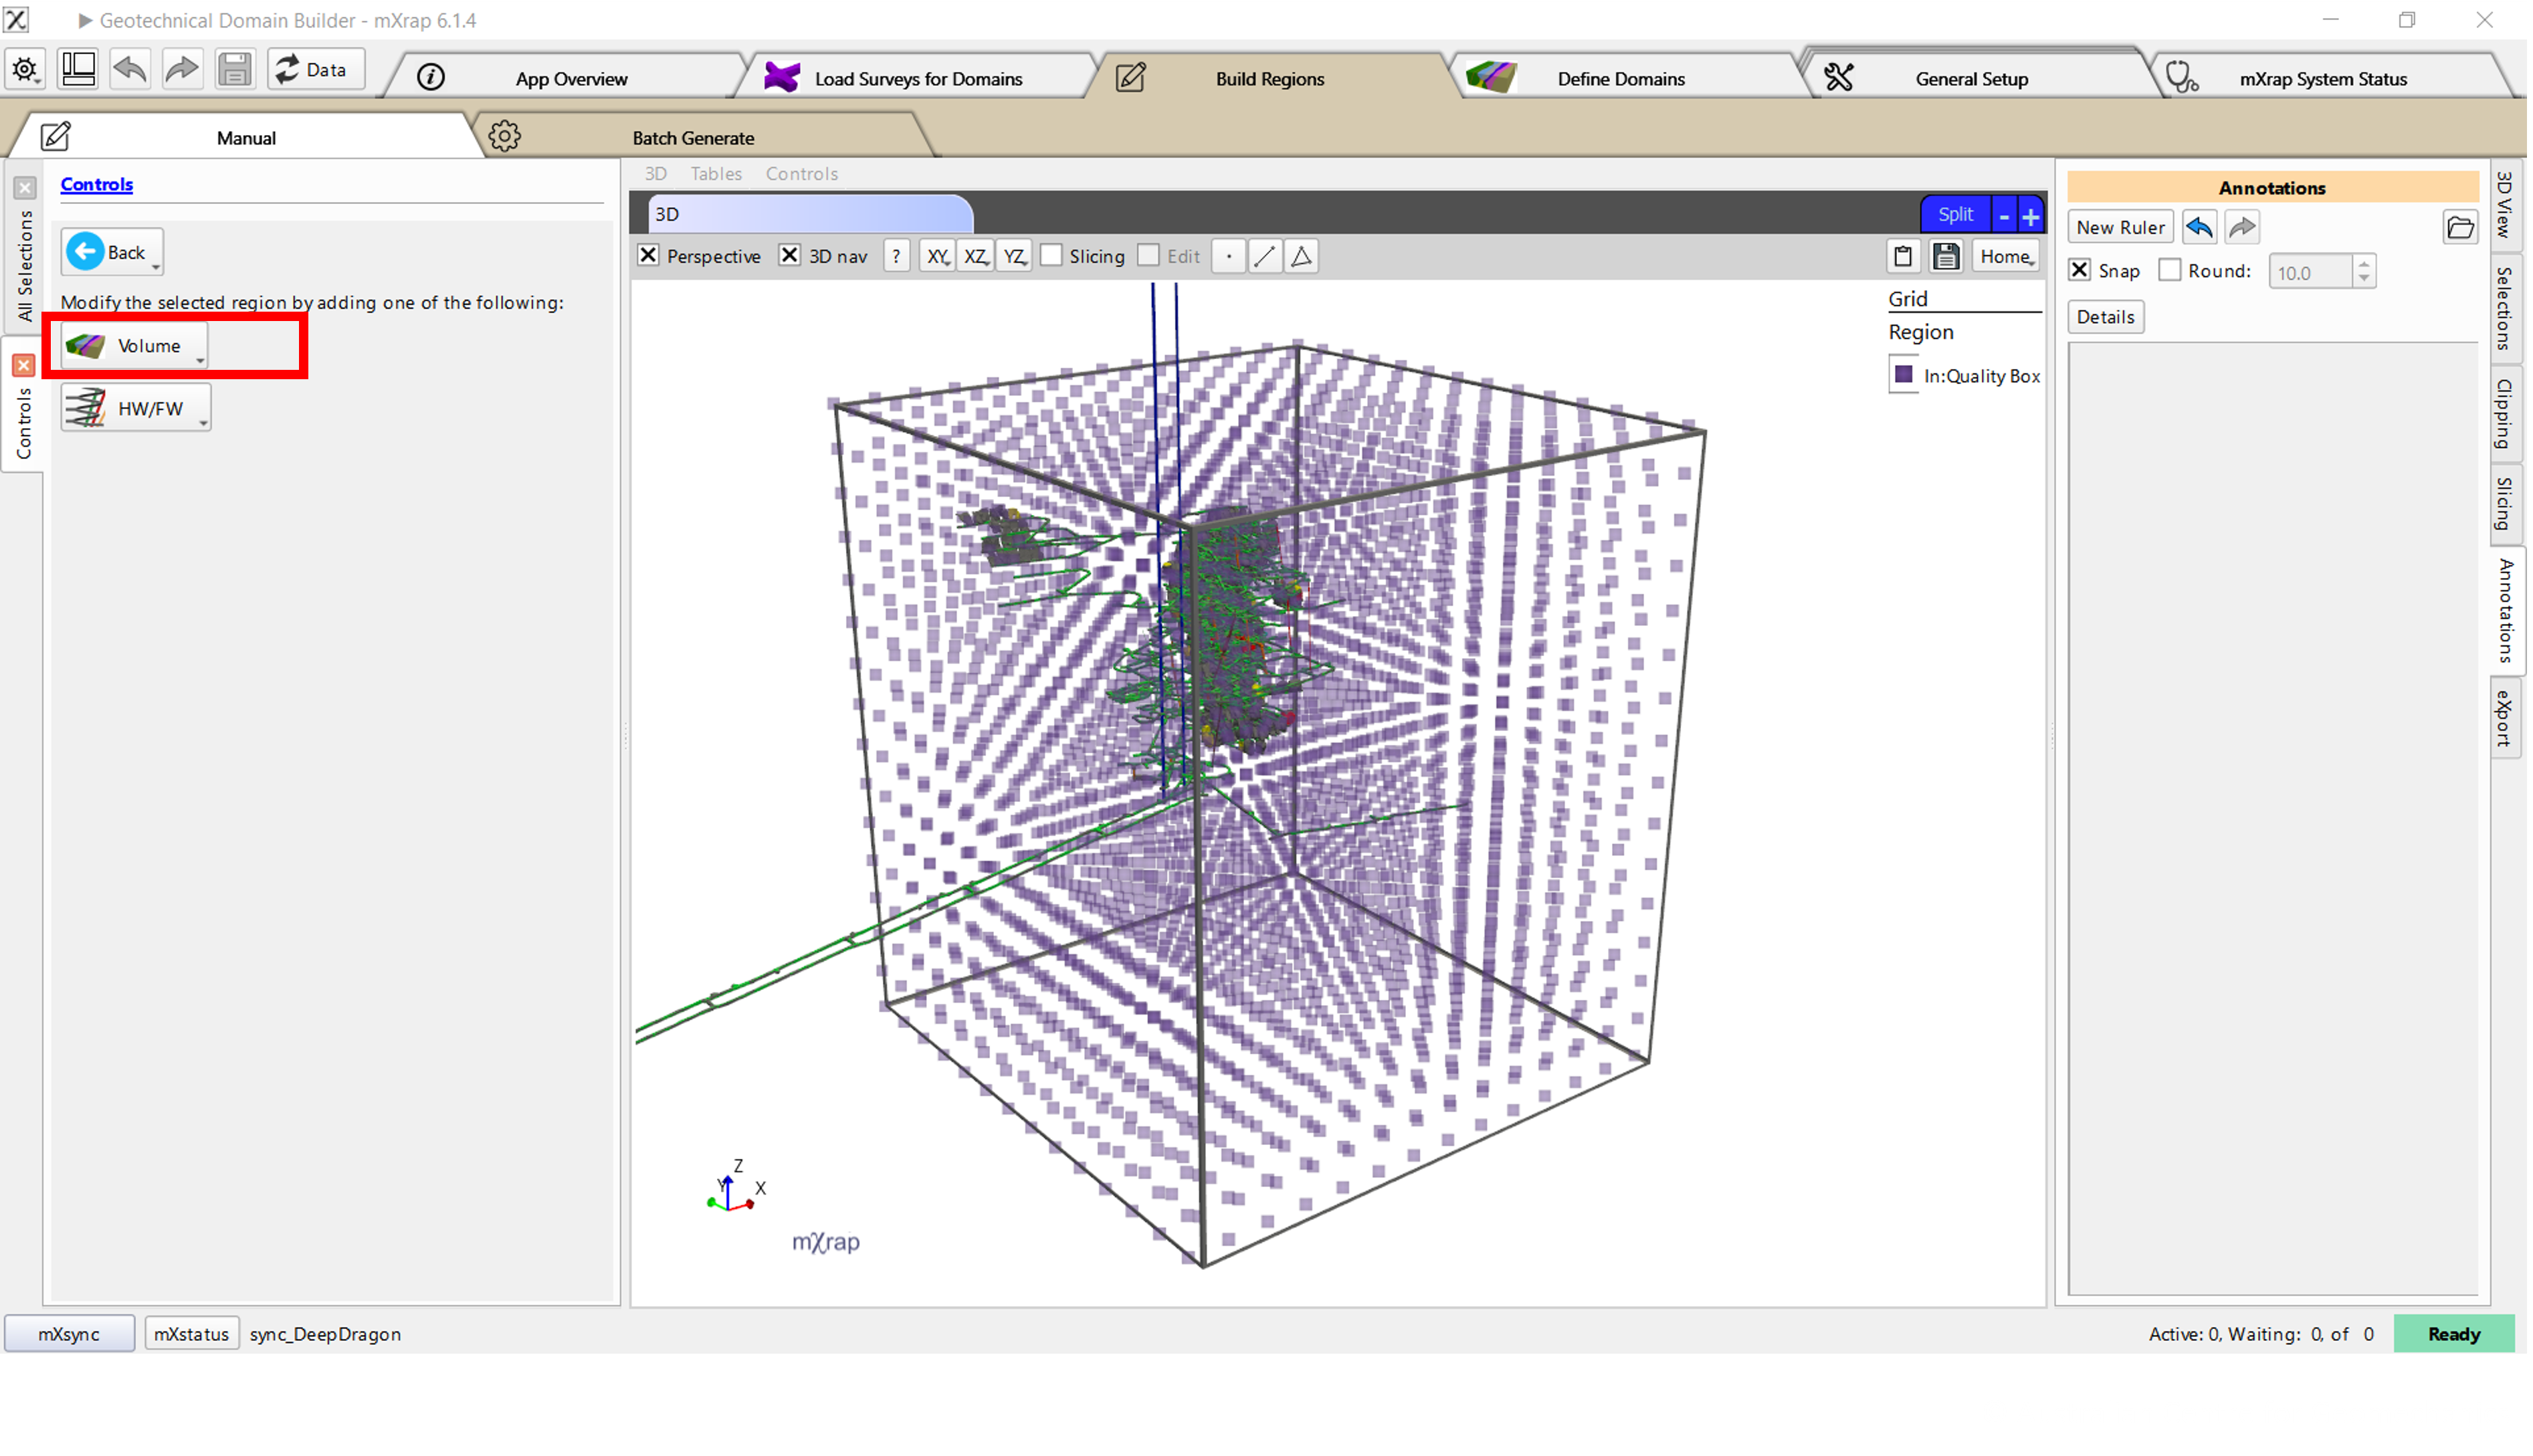
The model volume library shows you volume surveys which have already been used in this model. You might use the same survey multiple times throughout the model.
- If you are using a new survey, click Use Imported Survey
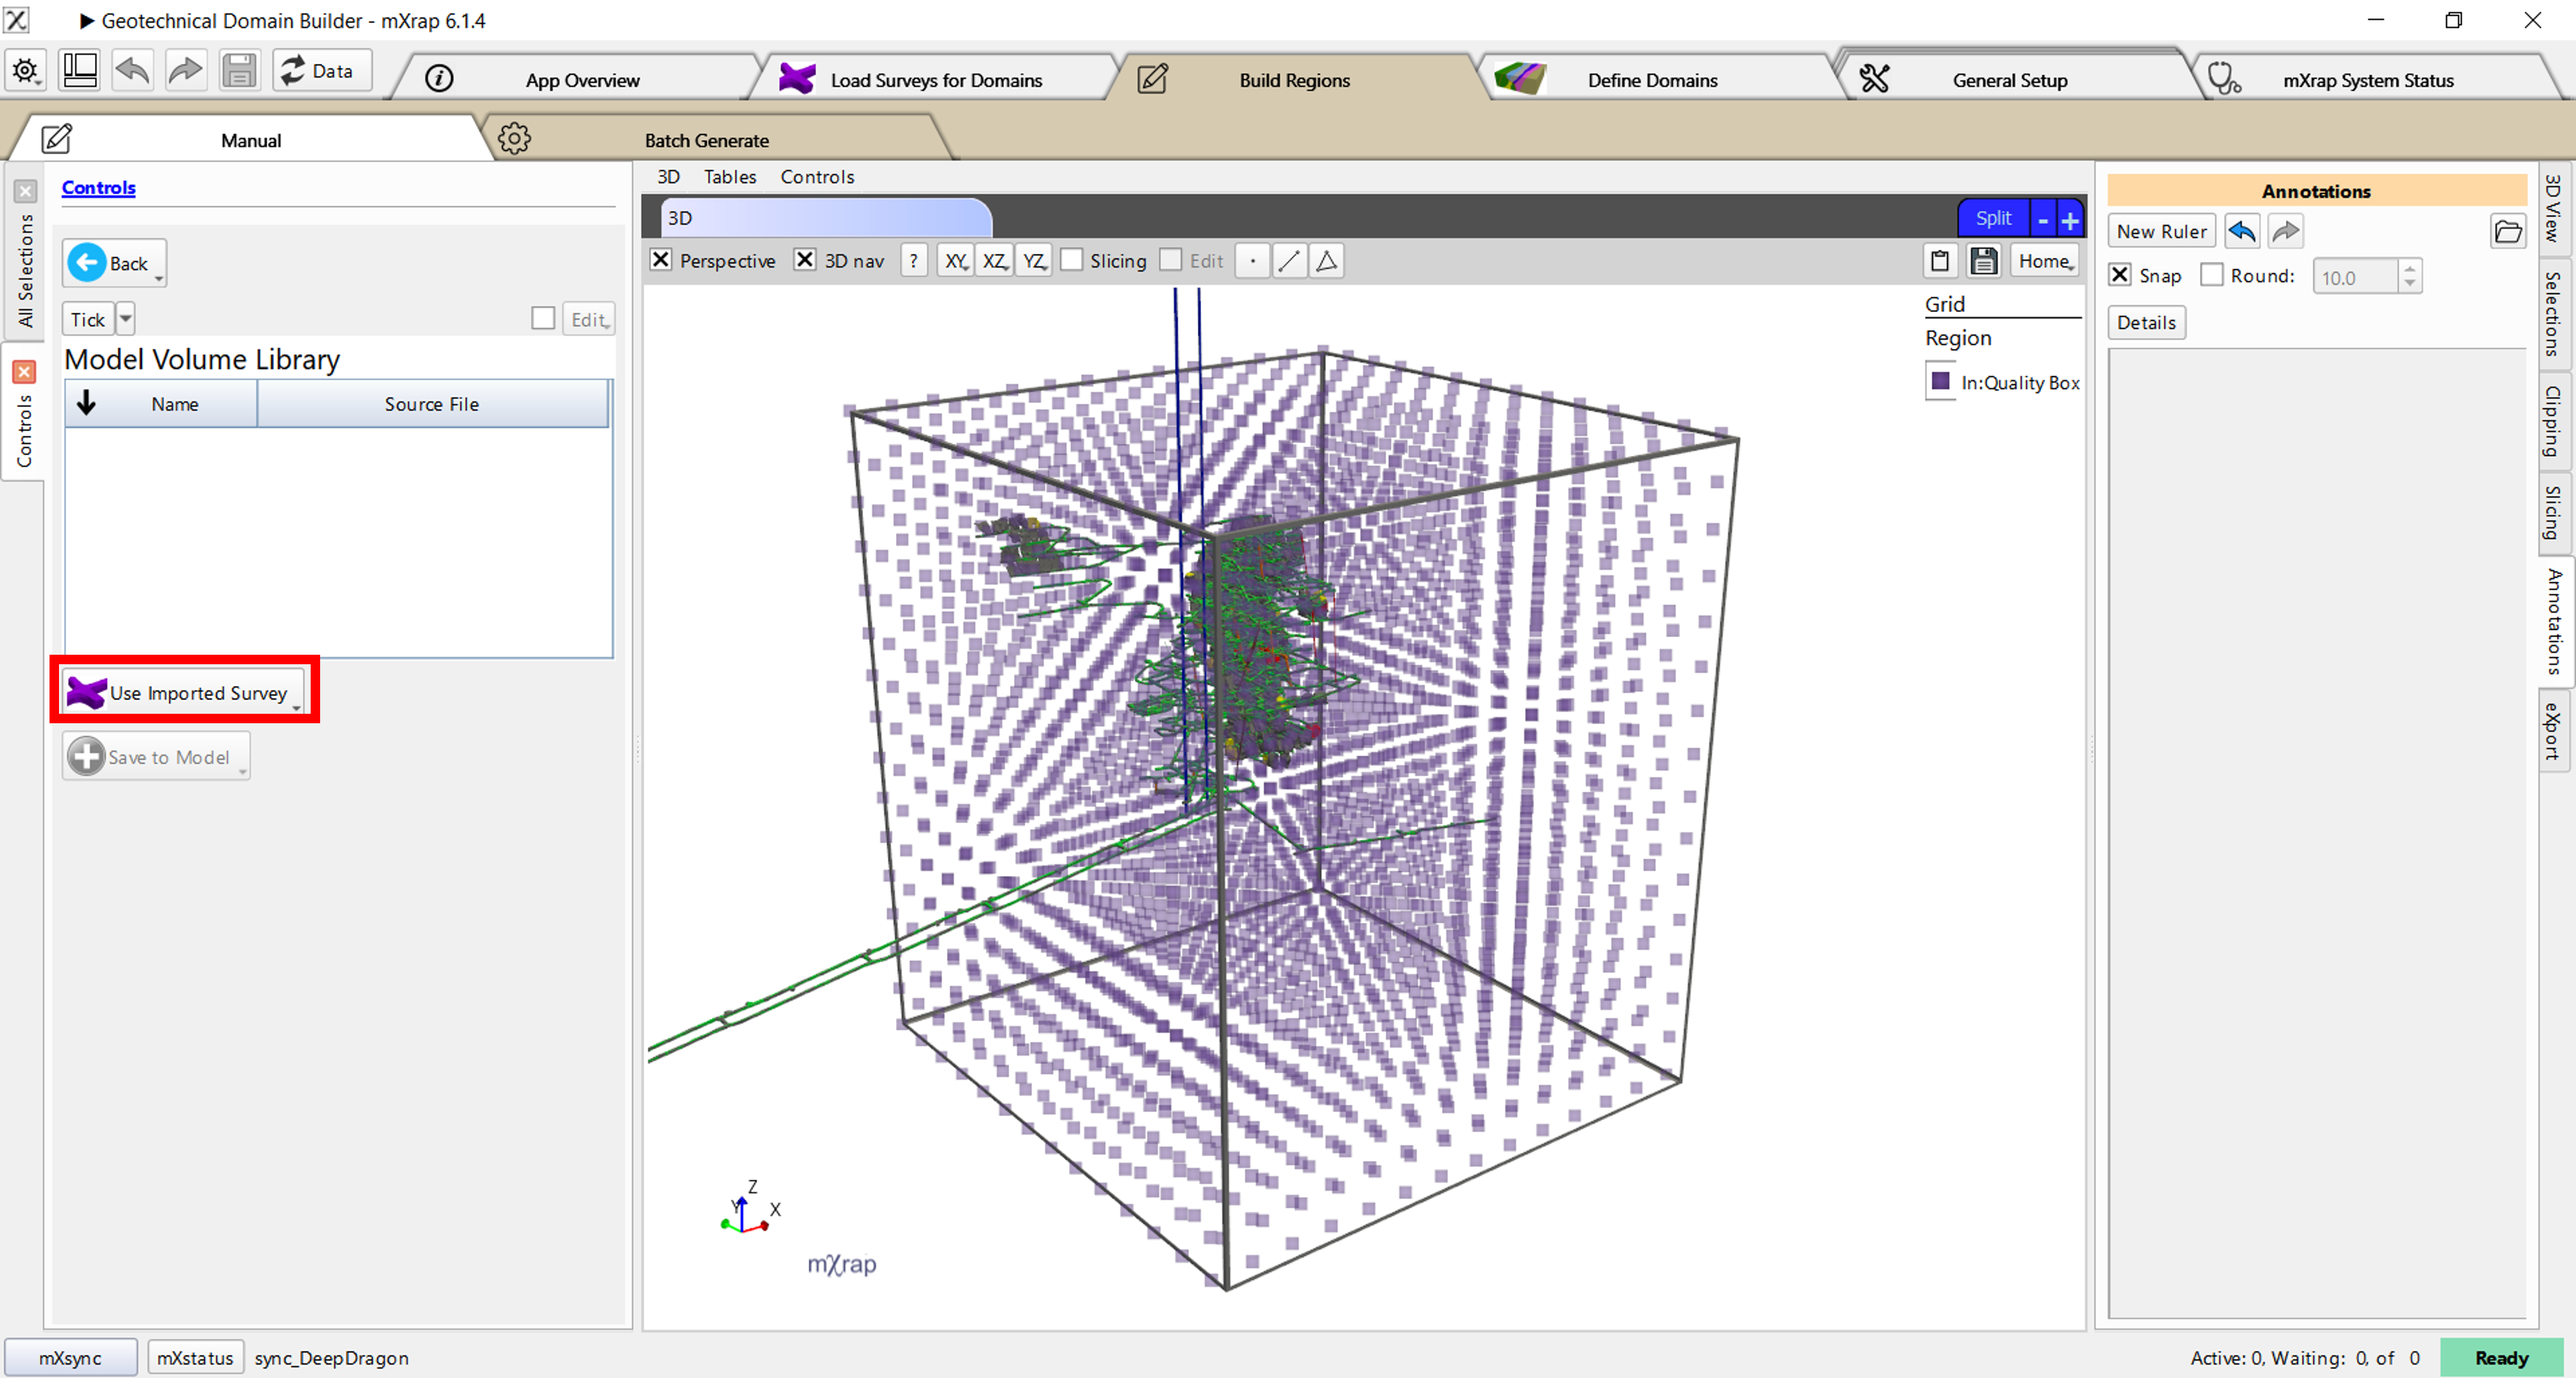
- Tick the survey-volume you want to use
If we make the sample grid spacing finer (in the Controls option of the 3D view), and then slice through the volume, we can see that the grid is updating live to show us the new classifications that this survey would produce. Our In:Quality Box region (that we ticked to subdivide) has a new sub-region identified as "> In:Node undefined“ (turn off site survey. Controls: show only ‘ORE’. Press W to see wireframe and inside the ode. Change Grid Spacing = 20m)
- Click Save to Model
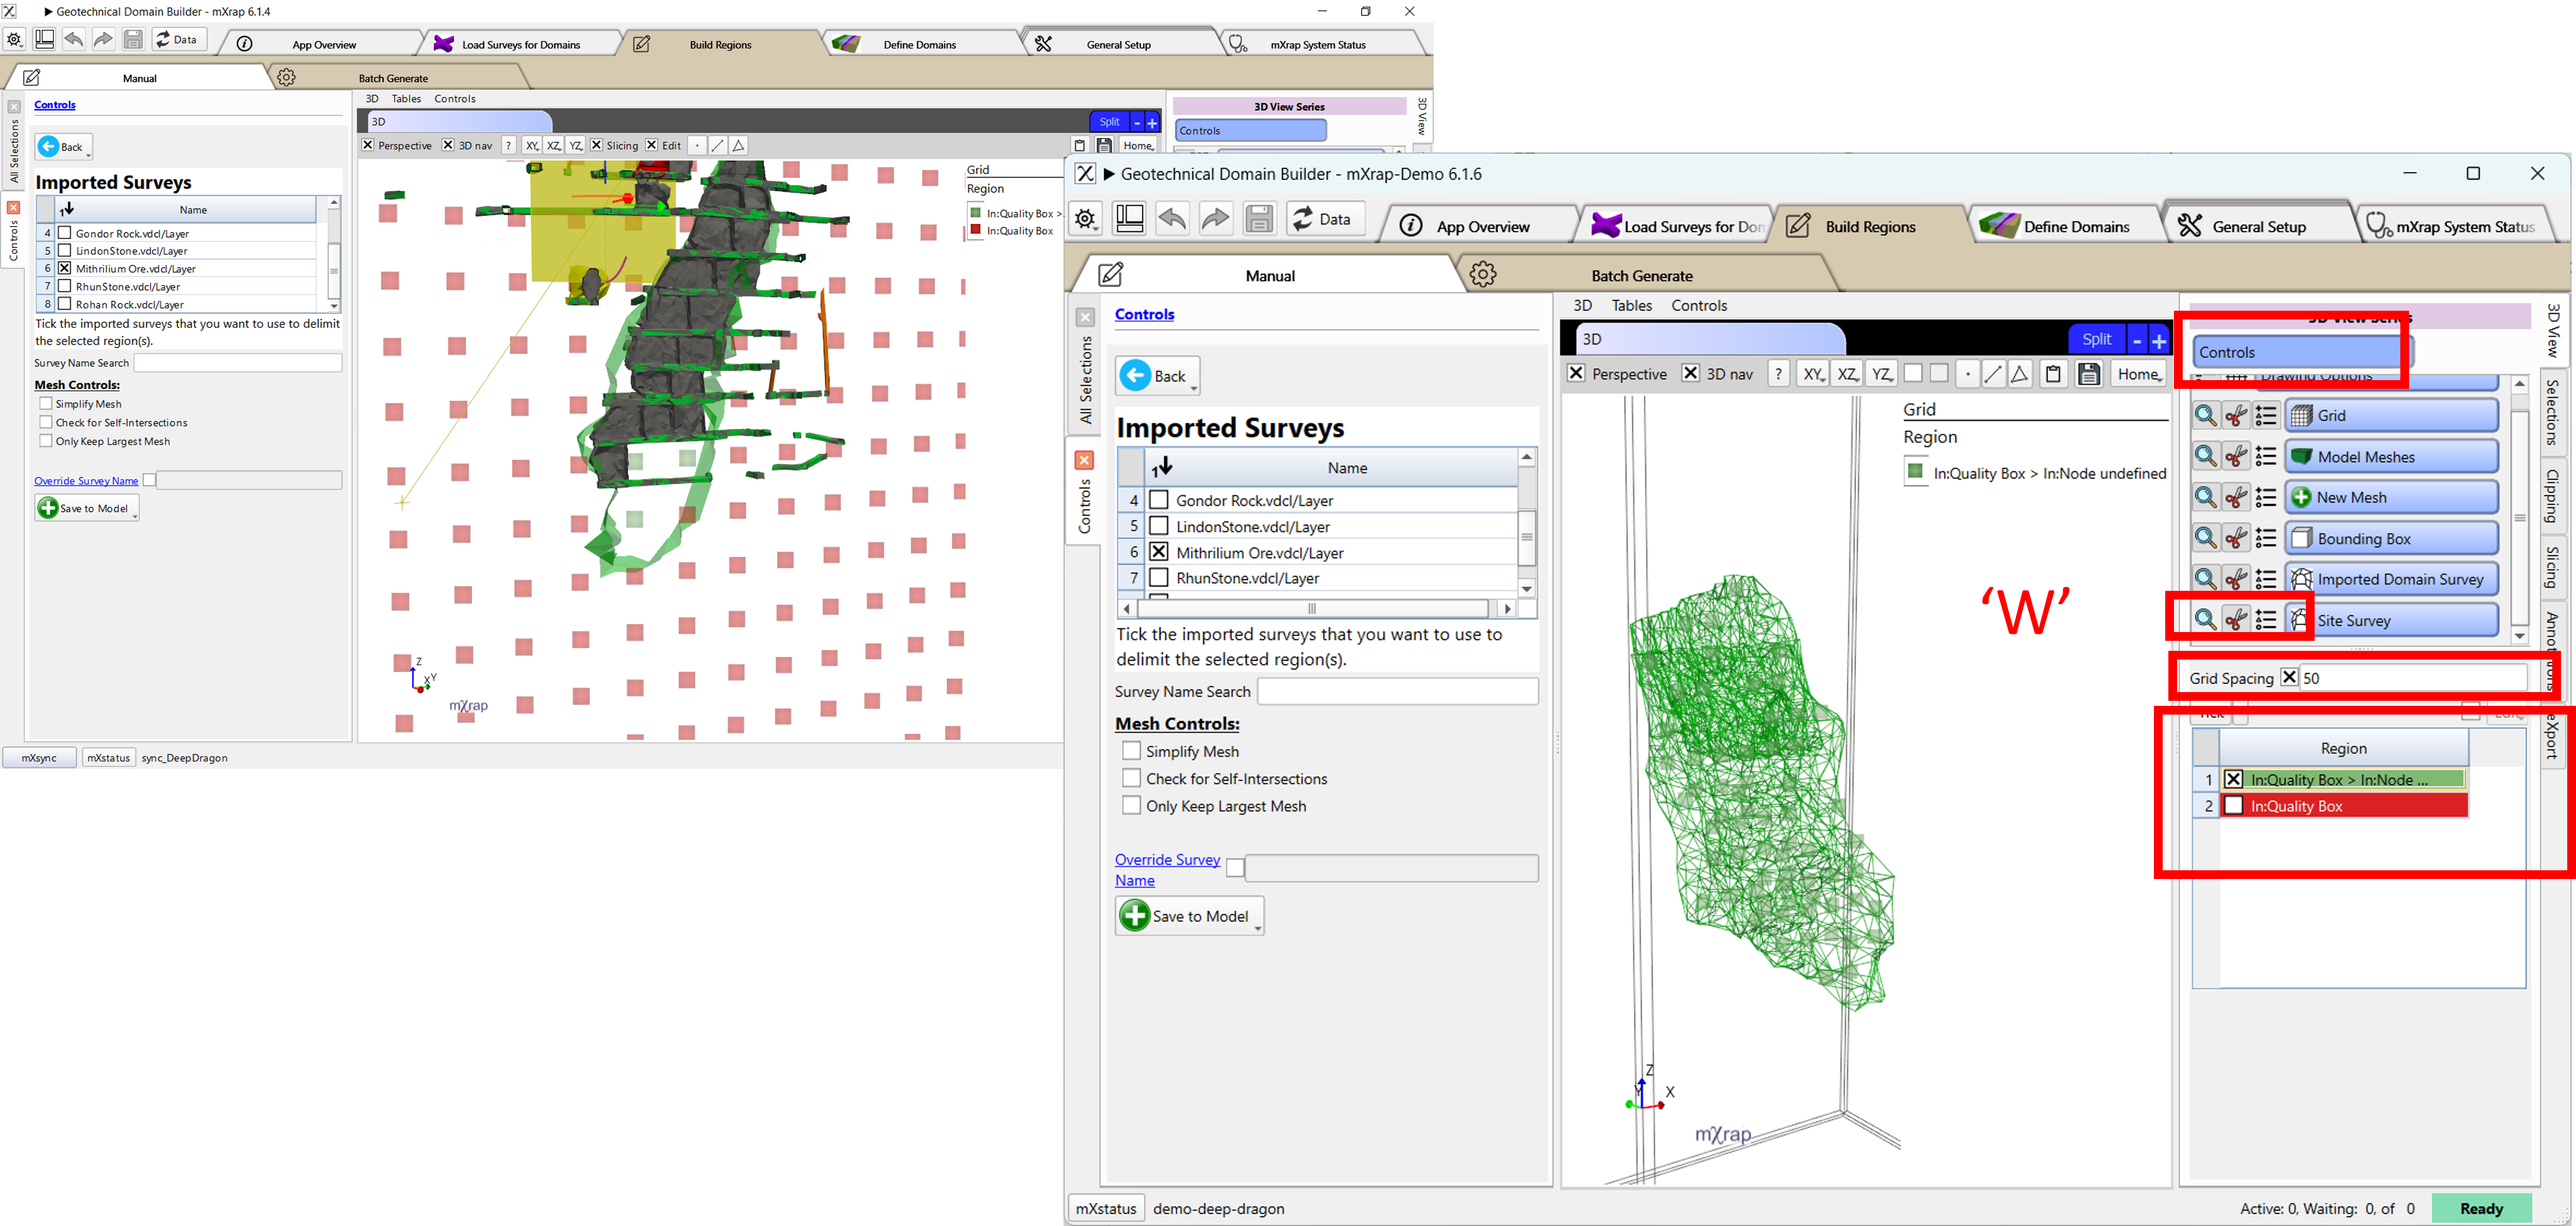
You will see all the leaf nodes of the model.
Option B: Subdivide using **HW/FW **
-
Click the HW/FW button
-
If you are using a new survey, click Add Imported Survey
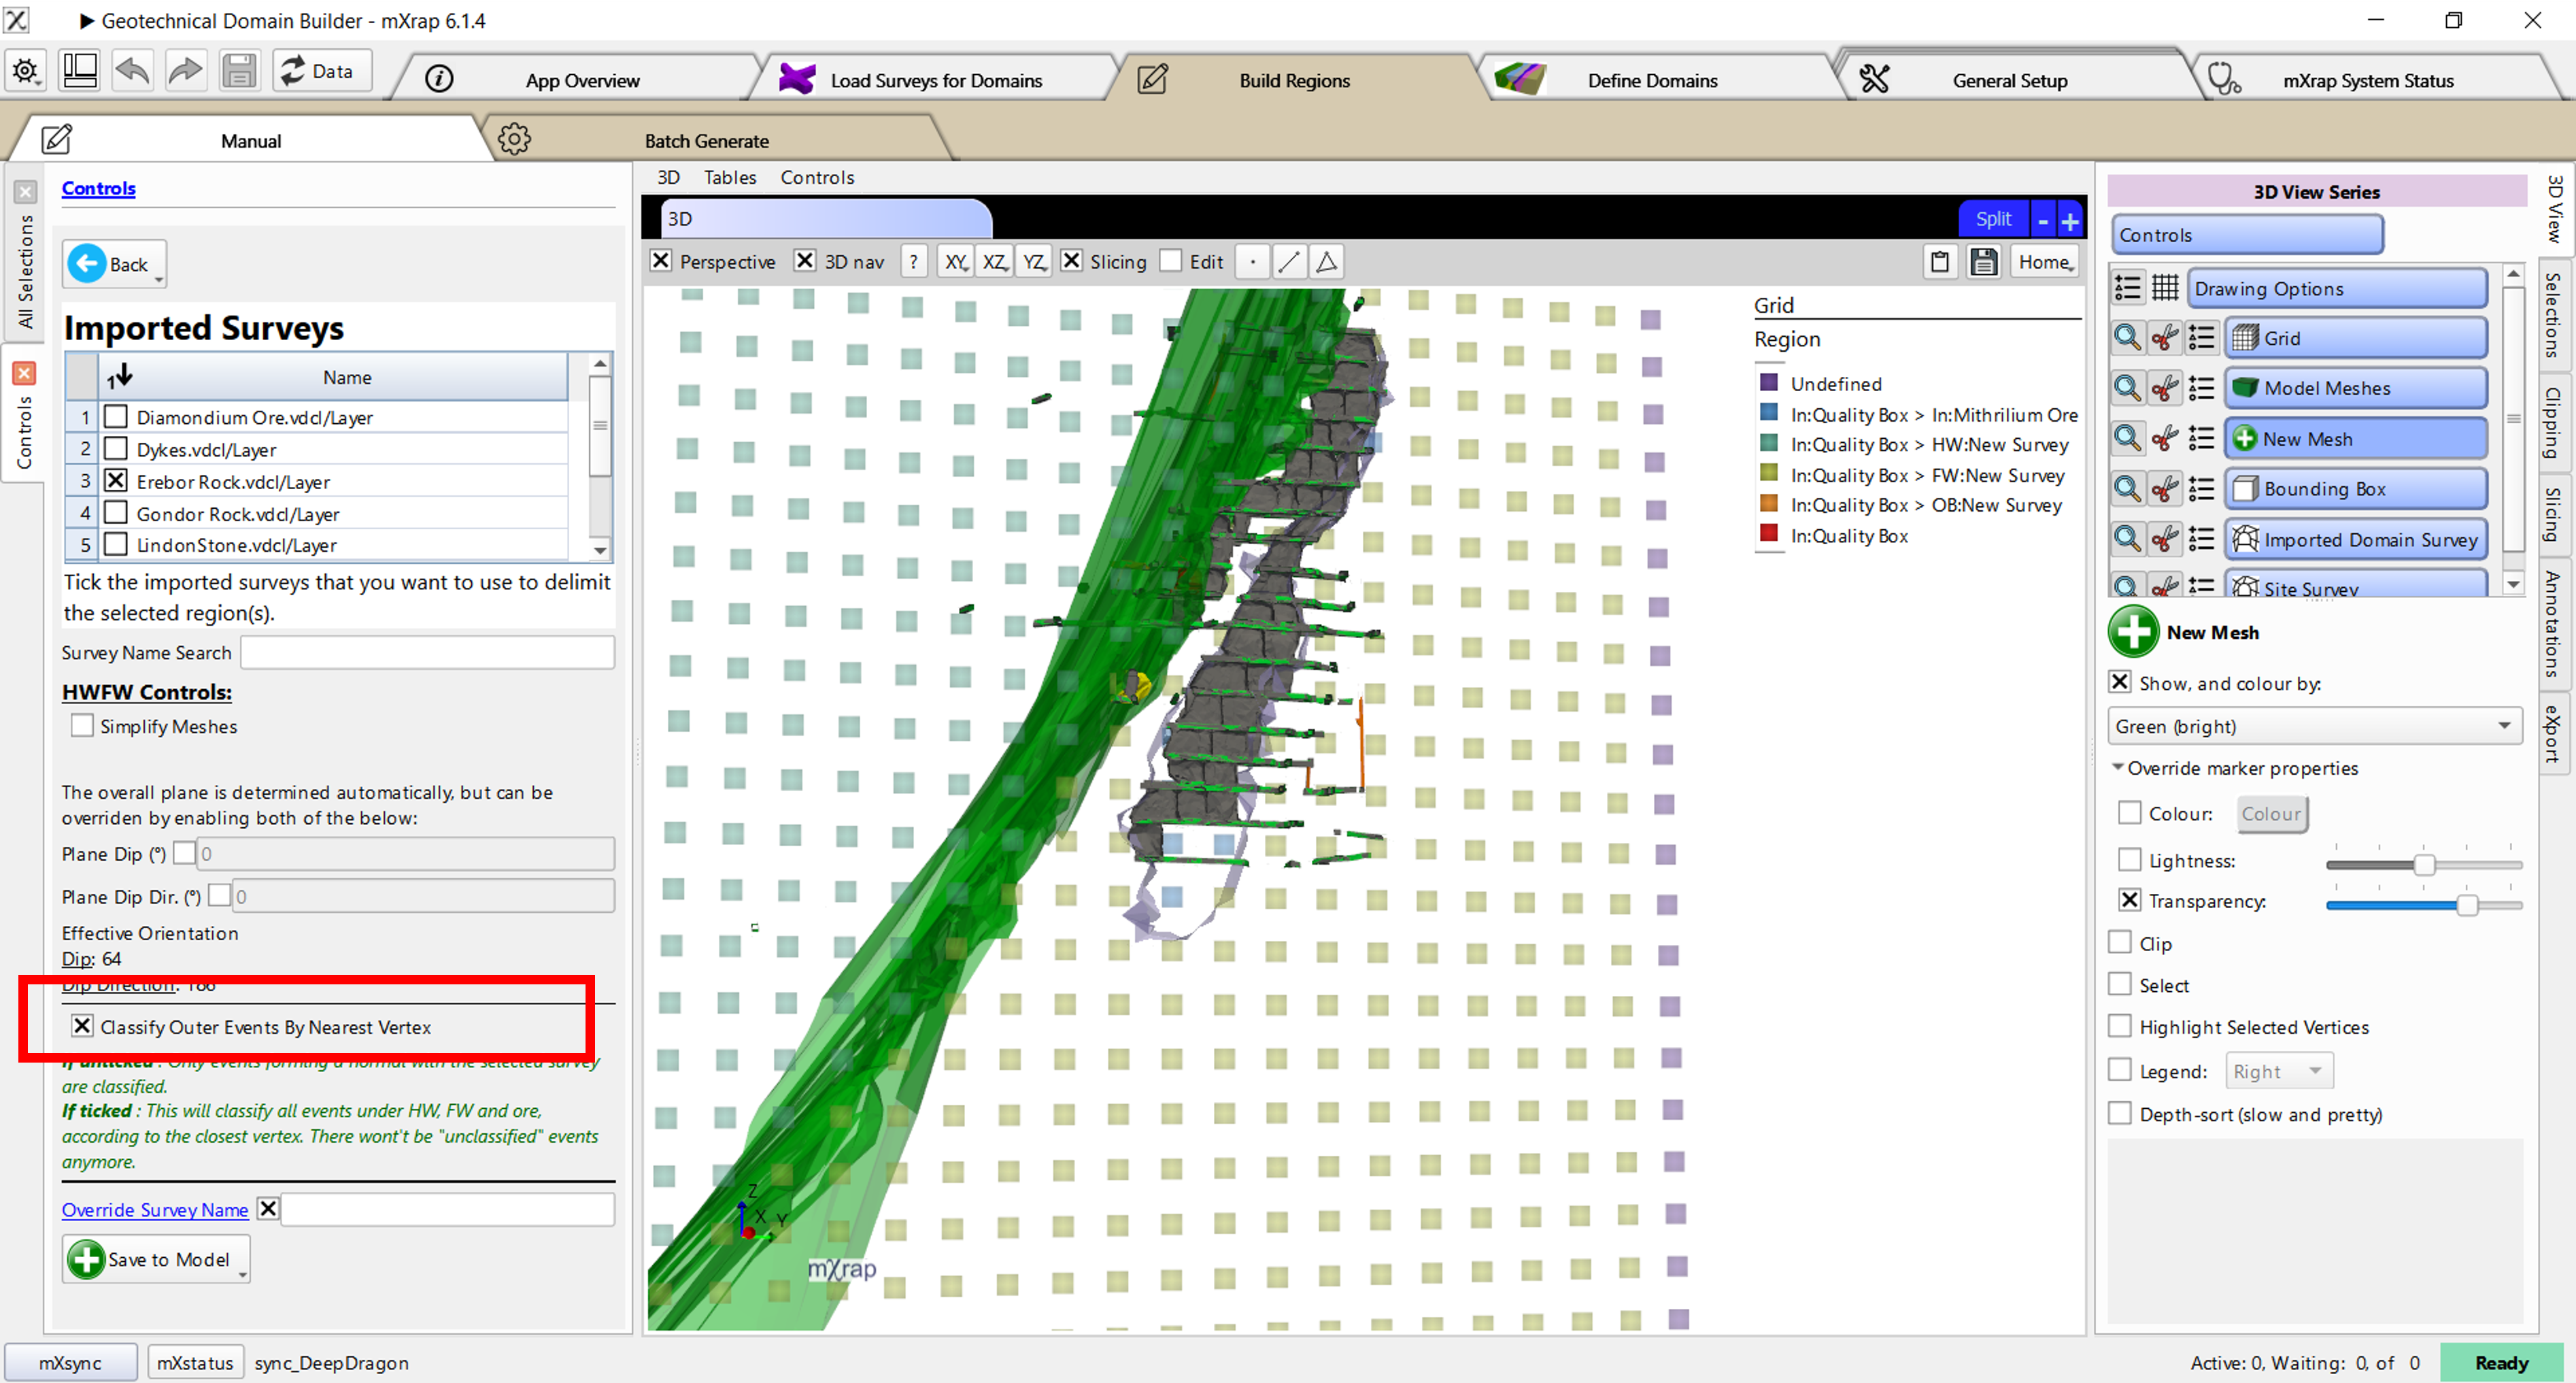
Try unticking the 'Classify Outer Events By Nearest Vertex' option to see where the HW/FW filter has unclassified events.
-
Tick the survey you want to use for HW/FW options
-
Click Save to Model